There’s a unique magic in lighting a candle you’ve created with your own hands. The flickering flame casts a warm, personal glow, made even brighter by the knowledge that you crafted it from simple ingredients into a beautiful, fragrant centerpiece. If you've ever dreamt of turning this into a reality, you're in the right place. This comprehensive guide to homemade candle making is designed to demystify the entire process, transforming you from a curious beginner into a confident chandler. Get ready to roll up your sleeves – by the end of this article, you'll have all the knowledge you need to start your rewarding journey into candle making for beginners.
Why Embrace Homemade Candles? More Than Just a Pretty Flame
Making your own candles offers a delightful blend of creativity, practicality, and personal satisfaction. Beyond the simple joy of watching wax transform, there are numerous compelling reasons why so many people are drawn to this engaging hobby.
Unleash Your Creativity and Personal Touch
One of the most appealing aspects of candle making is the immense room for personalization. You get to be the master artisan, choosing every element from the type of wax to the specific scent blend and even the container style. Want a calming lavender-vanilla candle for your bedroom? Or a vibrant citrus-basil blend for your kitchen? The possibilities are endless. This creative freedom allows you to craft candles that perfectly match any mood, season, or decor, making each creation truly unique and an expression of your individual style.
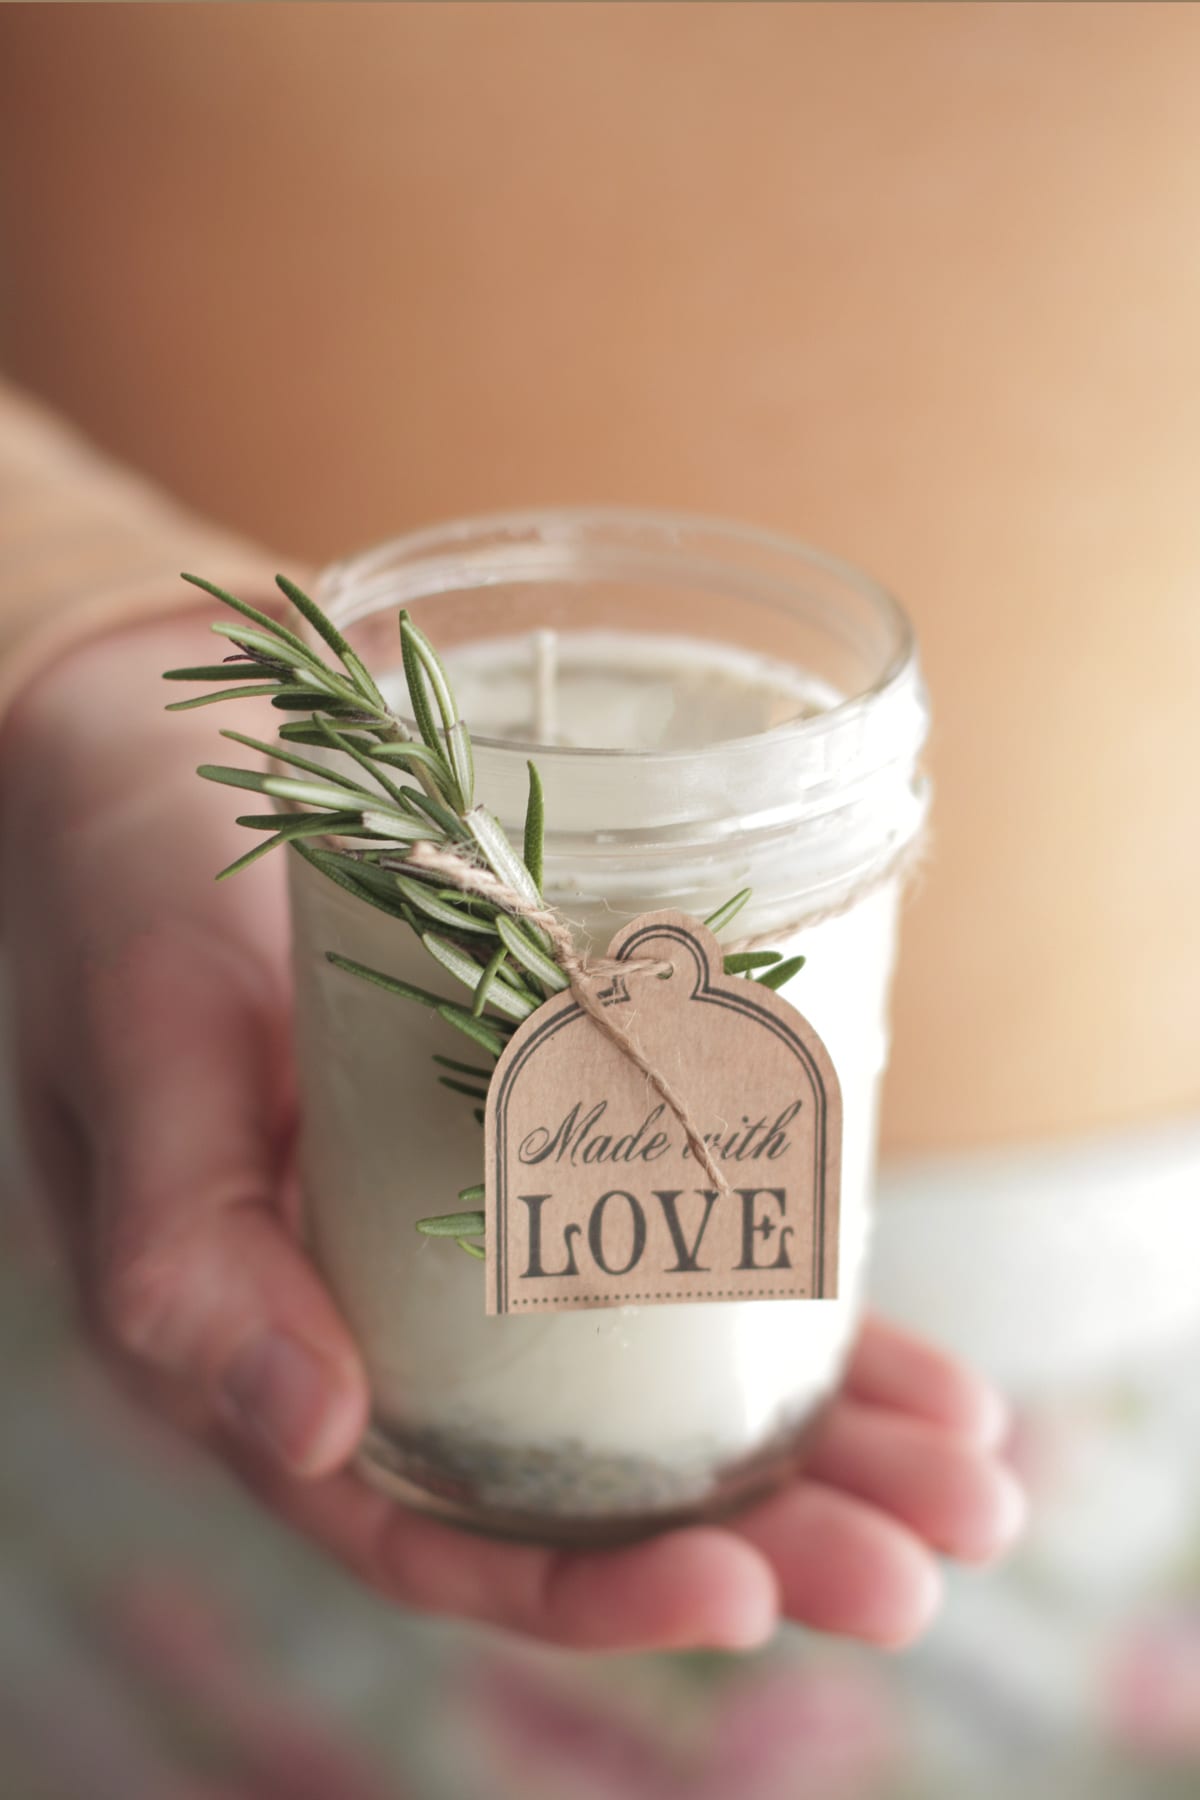
Thoughtful & Budget-Friendly Gifting
Homemade candles make truly special gifts. There’s something incredibly heartfelt about presenting a gift that you’ve crafted with your own hands and intention. Imagine having a stash of beautifully scented candles ready for birthdays, thank-yous, housewarmings, or unexpected gatherings. It eliminates last-minute scrambling and replaces it with thoughtful, personalized offerings. What’s more, quality candles from boutique stores or eco-friendly brands can be surprisingly pricey. By making them at home using natural ingredients, you can produce stunning, clean-burning candles for a fraction of the cost. It’s a win for your budget and a delightful way to show you care.
Enjoy Cleaner, Non-Toxic Burning
Concerns about what we breathe in our homes are growing, and store-bought candles can sometimes be culprits of releasing unwanted chemicals or excessive soot. When you make candles at home, you have complete control over the ingredients. Choosing materials like soy wax and pure essential oils allows you to create candles that burn cleaner, produce less soot, and are non-toxic. This is a significant advantage, especially if you have pets, small children, or simply prefer a healthier indoor environment. It's about enjoying that cozy glow without the worry.
Essential Supplies for Your First Candle Making Project
You’ll be glad to know that candle making for beginners requires only a few basic ingredients and some supplies that you might already have at home. Investing in good quality materials from the start will ensure a smoother process and a superior end product.
The Wax: Your Candle's Foundation
For first-timers, soy wax flakes are an absolute dream. Not only are they readily available and relatively inexpensive, but they are also incredibly forgiving to work with, making them ideal for beginners. Soy wax is a natural, renewable resource, derived from soybeans, which means it’s biodegradable and generally considered more eco-friendly than paraffin wax. When lit, soy wax candles release very little soot into the air, ensuring a clean burn and a healthy home environment. They are also non-toxic, a major plus for households with pets or children. Soy wax also boasts a longer burn time compared to traditional paraffin wax, giving you more hours of delightful fragrance and glow.
Fragrance: The Soul of Your Candle
The scent is what truly brings a candle to life. For a natural and potent fragrance, we highly recommend using 100% pure essential oils. These concentrated extracts from plants pack a powerful punch, ensuring your candles emit a delightful aroma when lit. Whether you’re drawn to the calming notes of lavender, the invigorating zest of lemon, the warm embrace of cinnamon, or the fresh scent of eucalyptus, there's an essential oil for every preference. Remember to buy pure essential oils to ensure both quality and safety. Experiment with blends to create truly unique scents!
Wicks: The Heart of the Flame
The wick is crucial for an even and clean burn. While many traditional wicks can release butane gas as they burn, we recommend switching to natural wicks, such as those made from hemp or organic cotton. These eco-friendly alternatives produce significantly less soot and are generally safer for your indoor air quality. For beginners, pre-tabbed wicks are particularly convenient as they already have a small metal base that helps them stand upright and secure at the bottom of your container. Ensure you choose a wick size appropriate for the diameter of your candle container to prevent tunneling or excessive flickering.
Containers: Your Candle's Home
Choosing the right container is essential for safety and aesthetics. Opt for heat-safe vessels like glass jars, ceramic pots, or metal tins. Mason jars are a popular and accessible choice for candle making for beginners. Make sure your chosen containers are clean, dry, and free from any cracks or chips before you start pouring. Consider the size and shape to match your desired candle aesthetic.
Basic Tools: Mixing & Measuring
- Double Boiler or Heat-Safe Pot & Bowl: Essential for safely melting wax without direct heat, which can scorch it. A large pot with an inch or two of water and a smaller, heat-safe pouring pitcher sitting inside works perfectly.
- Thermometer: A candy or digital thermometer is crucial for monitoring wax temperature. Different waxes have optimal temperatures for adding fragrance and pouring, which impacts scent throw and finish.
- Disposable Stirring Device: A simple wooden stick, a dedicated metal spoon, or even a craft stick works well for stirring the wax and essential oils.
- Wick Clips or Clothes Pins: These help to keep your wick centered and upright while the wax cools and sets.
- Measuring Cups & Spoons: For accurately measuring wax and essential oils.
Your Step-by-Step Guide to Easy Candle Making
Ready to transform your supplies into beautiful, fragrant candles? Follow this simple, actionable guide for a smooth and enjoyable candle making for beginners experience.
Step 1: Prepare Your Workspace & Wicks
Lay down newspaper or a protective covering on your workspace to catch any spills. Clean your candle containers thoroughly and ensure they are completely dry. Take your pre-tabbed natural wicks and center one at the bottom of each container. You can use a dab of hot glue or a wick sticker to secure the metal tab to the base of the container. Then, use a wick clip or a clothespin across the top of the container to hold the wick upright and centered while the wax cools.
Step 2: Melt the Wax Safely
Measure out your soy wax flakes. A good rule of thumb is that 1 cup of melted wax equals roughly 1 pound. Place your wax flakes into your heat-safe pouring pitcher. Create a double boiler by placing the pouring pitcher into a larger pot filled with 1-2 inches of simmering water. Allow the wax to melt slowly and evenly, stirring occasionally with your disposable stirring device. Monitor the temperature with your thermometer; aim for about 180-185°F (82-85°C) for soy wax. Do not let the wax exceed 200°F (93°C) and never leave melting wax unattended.
Step 3: Add Your Signature Scent
Once the wax is fully melted and has reached the ideal temperature (around 185°F for optimal fragrance bonding), remove it from the heat. This is the moment to add your essential oils. For a strong scent throw, a good starting point is 1 ounce (30ml) of essential oil per pound of wax. Stir the essential oils into the melted wax gently but thoroughly for at least 2 minutes to ensure they are fully incorporated. This is a crucial step for a well-scented candle.
Step 4: Pour & Set Your Candles
Allow the wax to cool slightly to around 135-145°F (57-63°C) before pouring. This cooler temperature helps prevent frosting and ensures a smoother top finish. Carefully pour the scented wax into your prepared containers, making sure to keep the wick centered. Fill the containers to about ½ inch from the top. Allow the candles to cool undisturbed at room temperature. This can take several hours, or even overnight, depending on the size of your candle.
Step 5: Cure and Enjoy!
Once the wax is completely solid and cool to the touch, you can trim your wicks to about ¼ inch (0.6 cm) from the wax surface. Now for the most important part for optimal scent: the curing process! While you can burn your candle immediately, soy wax candles benefit greatly from a curing period of 24-48 hours, or even up to 1-2 weeks for the strongest scent throw. This allows the fragrance oils to fully bind with the wax, resulting in a more vibrant and long-lasting aroma when burned. After curing, light your handmade creation and enjoy the fruits of your labor!
For more detailed insights into creating non-toxic, beautifully scented candles, check out our guide on Unlock Creativity: Make Non-Toxic Candles with Soy & Essential Oils.
Tips for Success on Your Candle Making Journey
As you delve deeper into candle making for beginners, these insights will help you achieve consistent, high-quality results:
- Always Prioritize Safety: Wax is flammable! Never leave melting wax unattended. Work in a well-ventilated area, keep flammable materials away from heat sources, and always have a fire extinguisher or baking soda nearby.
- Experiment with Fragrance Load: The 1 ounce per pound ratio is a starting point. Some essential oils are stronger than others. You might need to adjust up or down slightly to find your perfect scent intensity. Keep notes on your experiments!
- Understand Wick Sizing: An incorrectly sized wick can lead to tunneling (wax left on the sides) or a massive, sooty flame. The diameter of your container determines the ideal wick size. Refer to wick manufacturer guidelines for recommendations.
- Embrace the Curing Time: This really is the secret to a professional-grade scent throw. Be patient! The extra wait is truly worth it for a candle that fills your room with fragrance.
- Keep Notes: Document the wax type, essential oil blend, wick size, and pouring temperature for each batch. This will be invaluable for replicating successful creations and troubleshooting any issues.
- Don't Be Afraid of Imperfection: Your first few candles might not be absolutely perfect, and that's completely normal! Every chandler started somewhere. Learn from each batch, adjust your techniques, and enjoy the process.
There's a special kind of satisfaction that comes with crafting something beautiful and functional with your own hands. Candle making for beginners is not just a hobby; it's a creative outlet that offers endless possibilities for personalization, thoughtful gifting, and creating a warm, inviting atmosphere in your home. So, gather your supplies, follow these steps, and prepare to embark on a truly rewarding journey. The cozy glow of your very own handmade candles awaits!
